

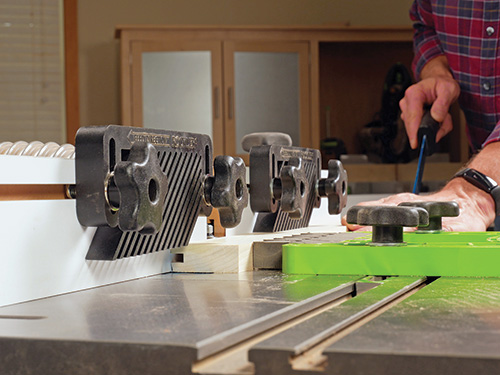
Take an in depth have a look at the nook joints of practically any cupboard door made lately, and also you’ll doubtless discover some variation of rail-and-stile joinery. These sturdy, engaging joints may be made simply in a house workshop with a matched set of rail-and-stile router bits, utilizing a router desk geared up with a mid- to full-dimension router.
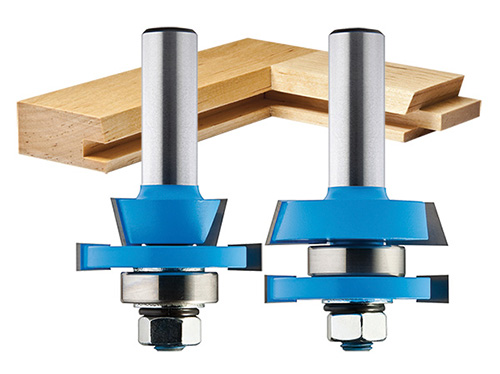
The stile cutter cuts a centered groove alongside each a door’s stiles and rails for becoming wooden panels or typically glass. The bit additionally mills an ornamental profile, referred to as sticking, alongside the within entrance-going through fringe of the door components.
This form could also be so simple as a chamfer or any variety of totally different roundover, filet or ogee varieties, relying on the bit set’s design. Because the stile cutter can be used on the door rails, it typically is known as the “sticking” bit as an alternative, which truly will be the extra becoming time period for it.
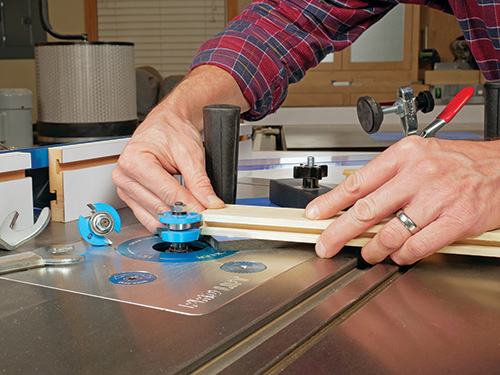
The rail cutter mills a mirror reverse profile of the stile cutter — a reversed sticking reduce and a stub tenon to fill the panel groove and strengthen the joint.
Because the rail cutter’s profile mates with the stile cutter, a lot in the identical approach a mitered piece of trim molding is contoured with a coping noticed to suit its mate, this bit typically is named the “coping” bit.
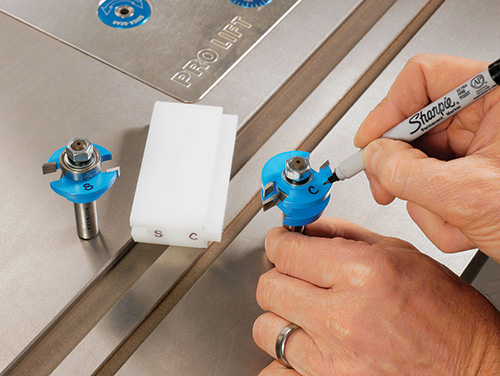
Label Them for Clarity
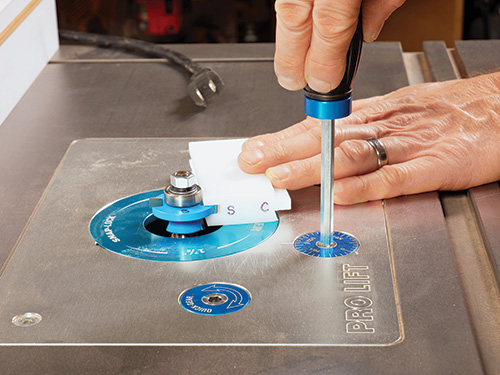
It’s simple to confuse which bit is which, as a result of the profile every creates is definitely the damaging area of its form. Plus, the bits are oriented in a router desk to chop stiles and rails again-face up.
So do your self a favor and label every bit with an “S” for stile/sticking cutter and an “R” or “C” for the rail/coping cutter.
You’ll thank us the primary time these labels stop you from selecting the mistaken bit for every reduce … it’s an astonishingly simple mistake to make.
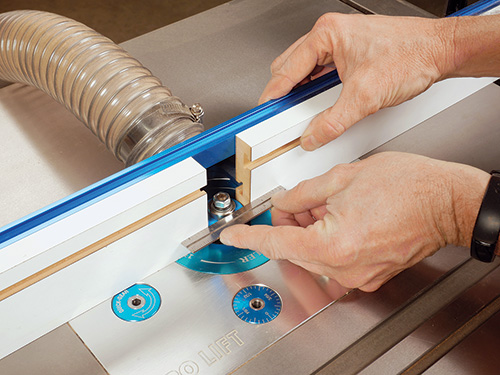
Which Cut Comes First?
While the images present the stile bit used first for making a joint, it’s additionally completely acceptable to manage the ends of the rails first.
That may be advantageous once you already know the ultimate size of a cupboard door’s rails. The rail may be coped on every finish, adopted by the stile/sticking cuts.
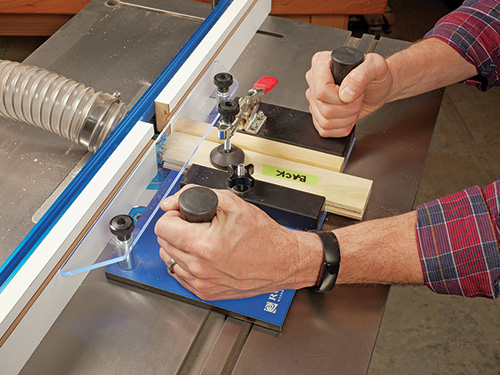
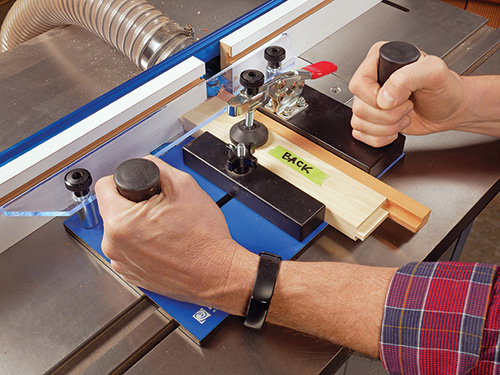
Either approach, since coping cuts are made throughout the slim rail ends, they’re greatest carried out with the workpieces clamped in a sled that will increase stability and retains your fingers clear. A backup block of scrap can be utilized rather than a coping sled, in case you don’t personal a sled.
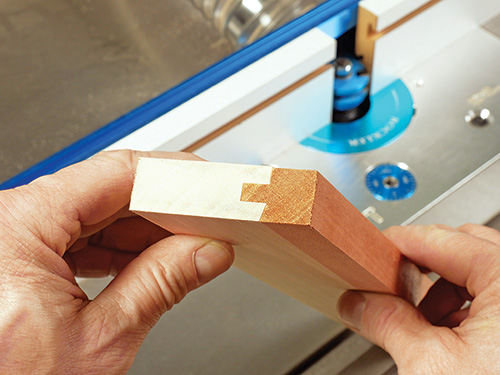
Note that when the stile/sticking cuts are made first, you’ll must make a filler strip with the coping cutter to suit into the stile reduce with a view to stop the second coping reduce from tearing out the wooden contained in the stile profile when the bit passes by means of it.


