


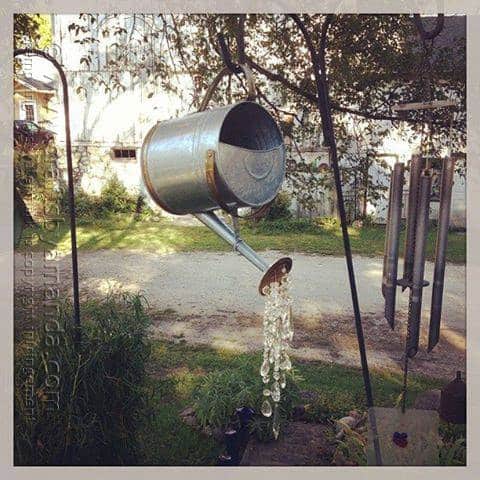
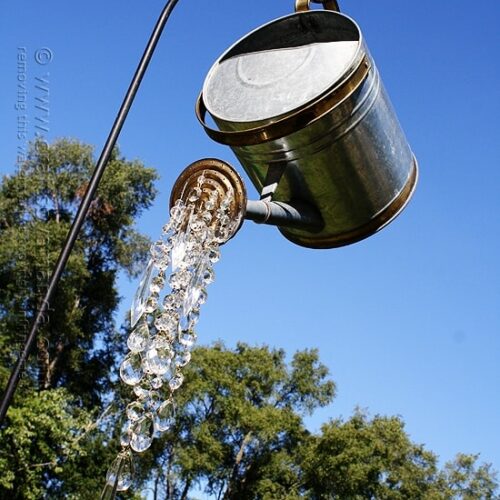
My neighbor and good good friend, Debra, made this excellent DIY yard artwork from an previous watering can and hanging crystals from an previous chandelier. The mild from the solar displays off of the crystals, making it shine brilliantly.
The stream of crystals seem like they’re pouring out of the watering can’s spout utilizing little greater than some wire and a bead to safe them. Keep studying to learn the way to make your personal watering can that pours crystals!

Watering Can That Pours Crystals
This watering can is the proper whimsical garden ornament. it might look beautiful subsequent to those beautiful Decorative Garden Stakes, don’t you assume?
NOTE: If you favor to buy one in every of these, try the beautiful options available on Etsy!

I’ll clarify easy methods to make one thing like this your self down beneath, or you possibly can watch the video just under this paragraph. After you watch the video, be sure you scroll down the remainder of the publish and see all of the images!
When I shared a photograph of this watering can challenge on Instagram just a few years in the past, I had no thought what was going to observe. I went to my Facebook page and shared the instagram photograph there.

What resulted was nearly 700 likes and over 200 shares! Those had been loopy numbers for my Facebook web page again then! So, because it was clearly fairly widespread, I ended by Debra’s the following day to get some higher photos and let you know how one can make your personal as effectively.

Debra and I dwell actually proper across the nook from one another. Before we even met I had been to her storage gross sales and handed by her home in all probability a gazillion instances. Then at some point she launched herself to me saying that she “met” me by means of this weblog. Oddly sufficient, I didn’t assume anybody in my sleepy little city even knew what a weblog was, not to mention adopted one.
That was a little bit over 4 years in the past and since then Debra and I’ve grow to be good pals. We share artistic suggestions and bounce artful concepts off one another on a regular basis. I’m so glad that she got here to my door that day!

Debra lives in a cute little farm home with an ideal massive barn in her aspect yard. I’ve salvaged some issues from that barn, together with these Distressed Shutters. In reality, in that publish you’ll see just a few photos of Debra’s barn and property.
If you need to see much more, I’ve a small photo album of Debra’s barn on Facebook.

Debra has a stunning garden. It’s clearly fall right here in southeast Wisconsin so all of the brightly coloured flowers have gone to sleep for the yr, however the arrange is stuffed with whimsical goodies that I’ll present you right here.
Much of what you’ll discover in Debra’s yard was salvaged from the aspect of the highway or picked up for pennies at a storage sale. Her garden path is lined with blue bottles which were turned the wrong way up and pushed into the earth.
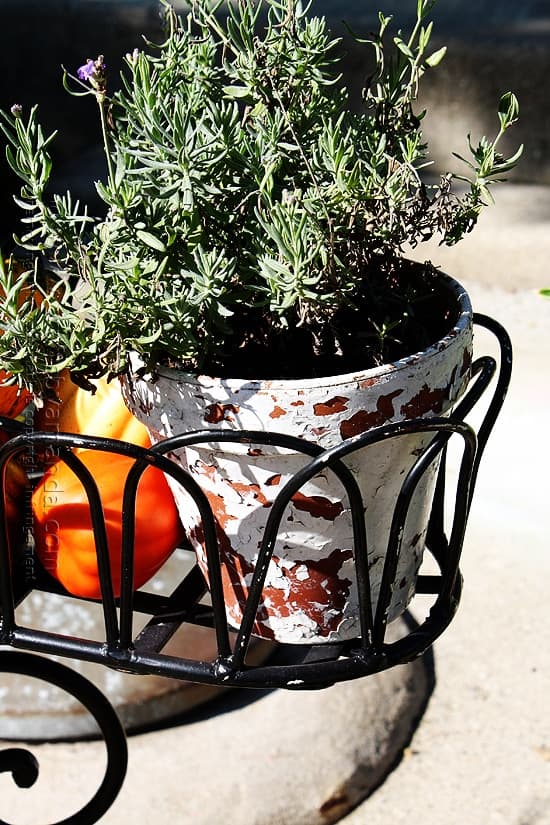
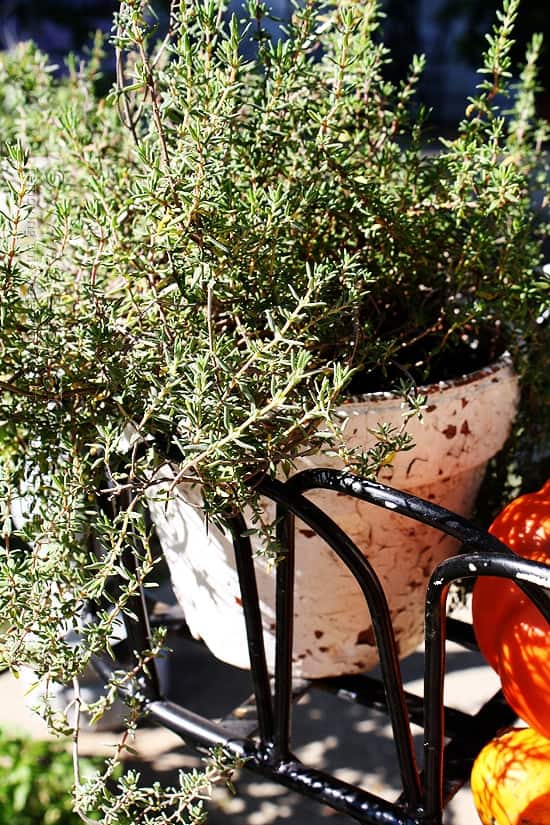
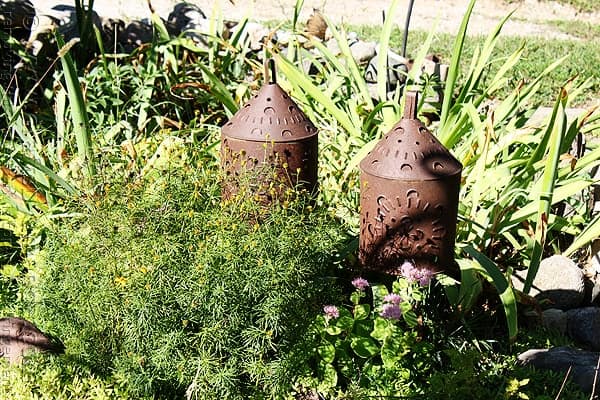
One of my favourite elements of her garden are these chippy herb pots. She discovered three of them stacked collectively in a rubbish can.
I really like how she expressed it… she mentioned that the earlier proprietor in all probability mentioned “Ewww the paint’s all chipping off..” (learn that in a disillusioned voice).
Debra’s response (learn this with an excited voice) “Oooo! The paint’s all chipping off!!” 🙂
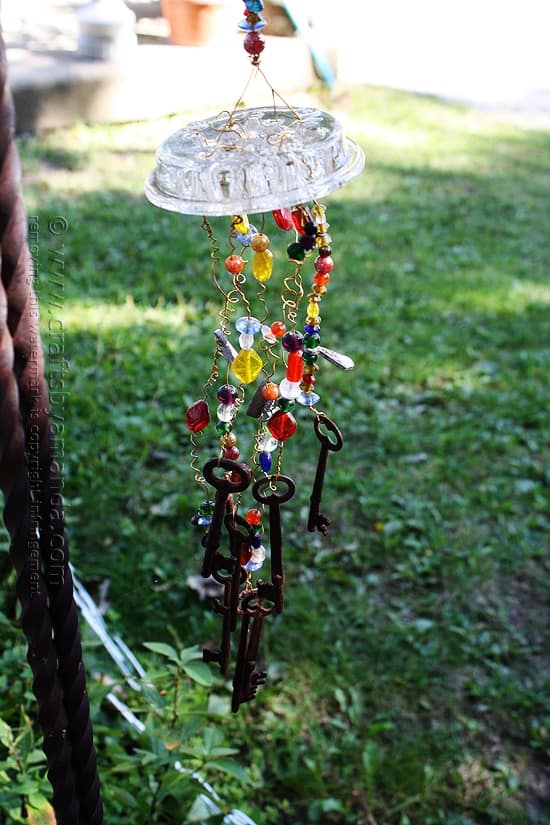
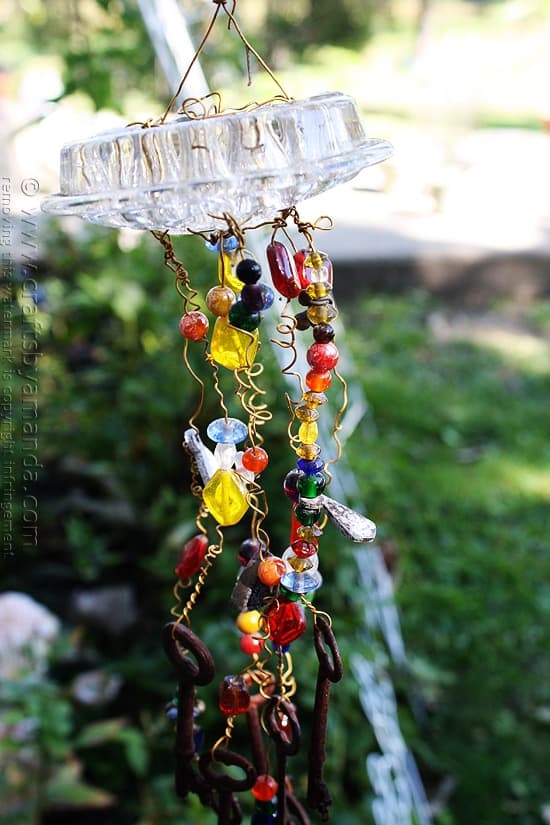
This fairly little garden gem was created from a glass flower frog, some colourful beads, wire and bunch of rusty keys.
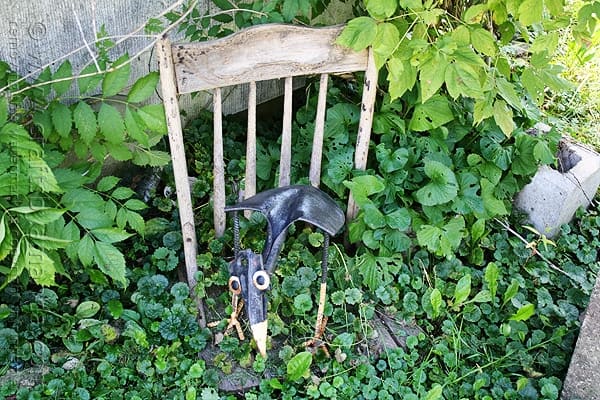
Over by the barn there’s a damaged previous chair lined with vines, and sitting on that chair is that this whimsical crow created from steel and an previous shovel.
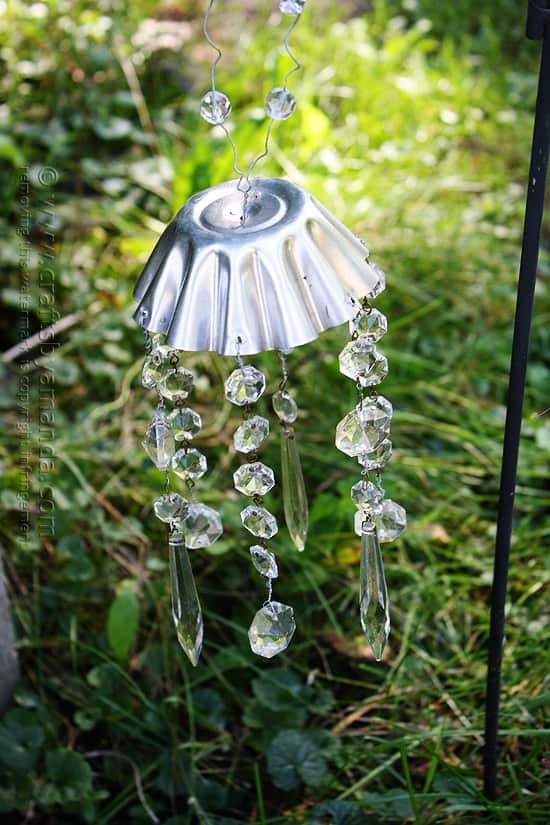
Hanging close by are extra crystals, this time they’re dripping from a small steel jello mildew pan.
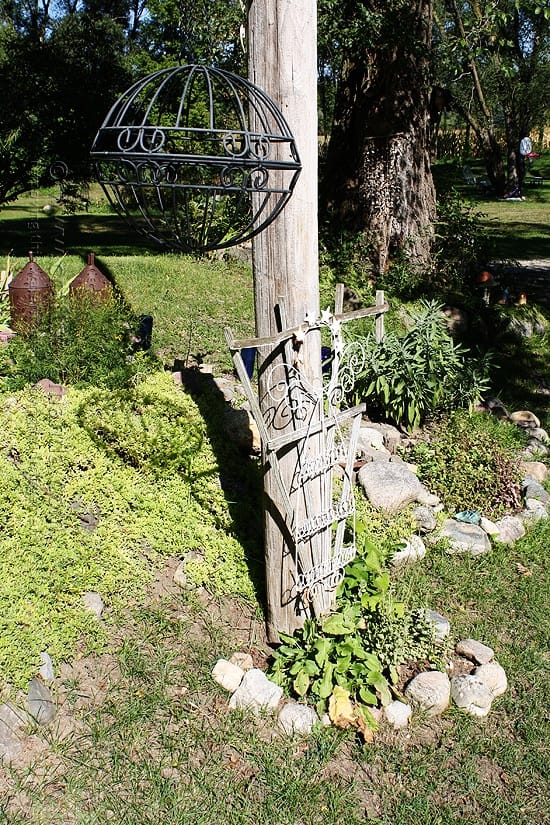
Another decoration is that this hanging sphere created from two spherical plant hangers glued collectively.
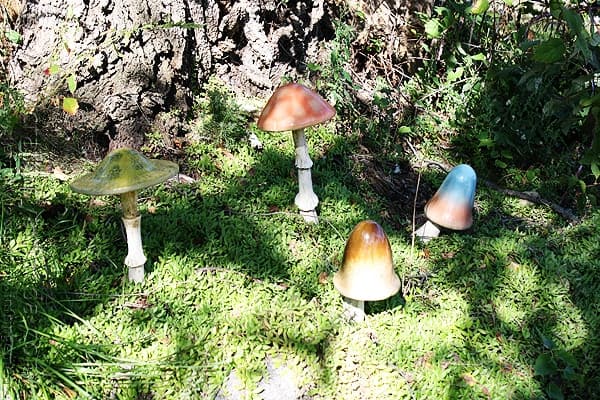
One of my favourite elements of the garden are these cute toadstools. Maybe I ought to donate my fairy home to this scene!
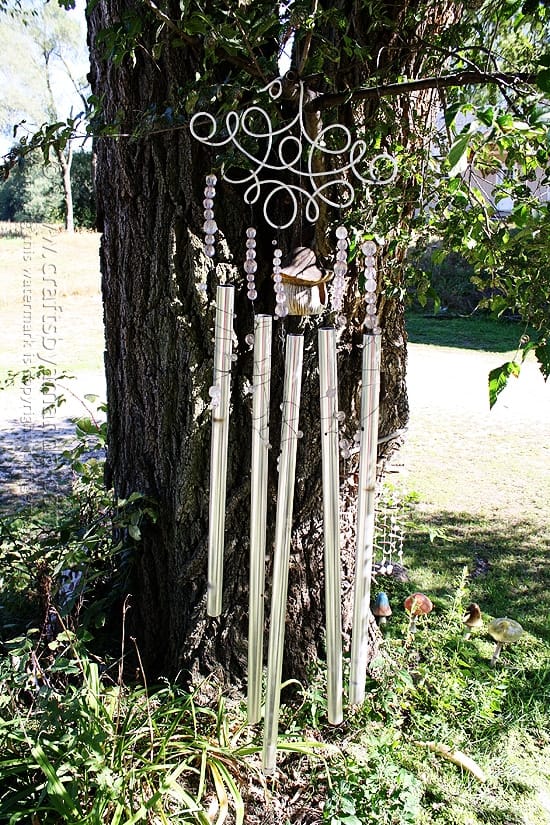
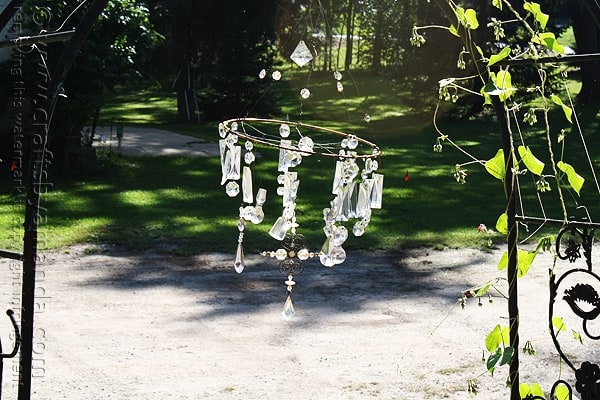
Around the nook from the toadstools is that this nice massive wind chime made with extra beads.
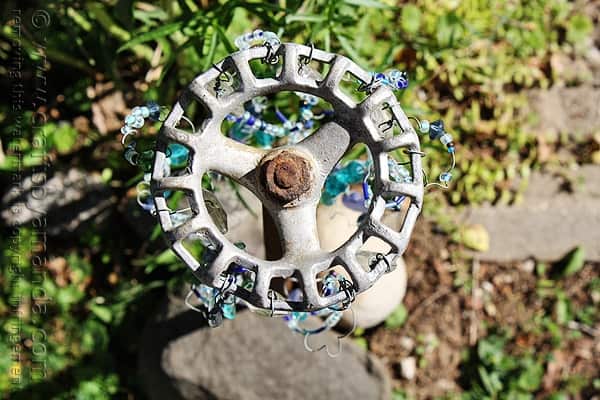
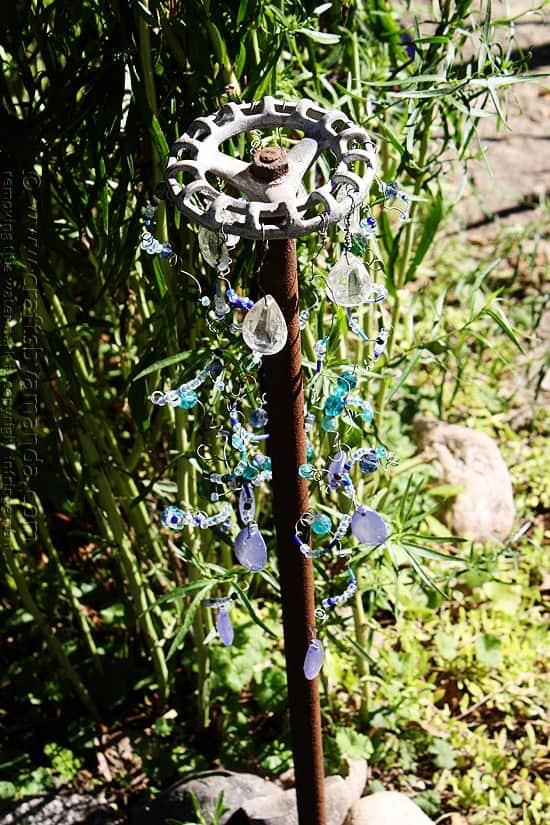
Debra even spruced up this previous rusty water deal with by including gems and beads on wire.
Debra and I’ve comparable tastes with regards to rusty goodness!
She has crystal goodness throughout her garden and says “I am a lover of all things shiny!”

As you’re leaving Debra’s driveway, this steel man created from previous pipes waves to say goodbye!
To make the watering can
You will want
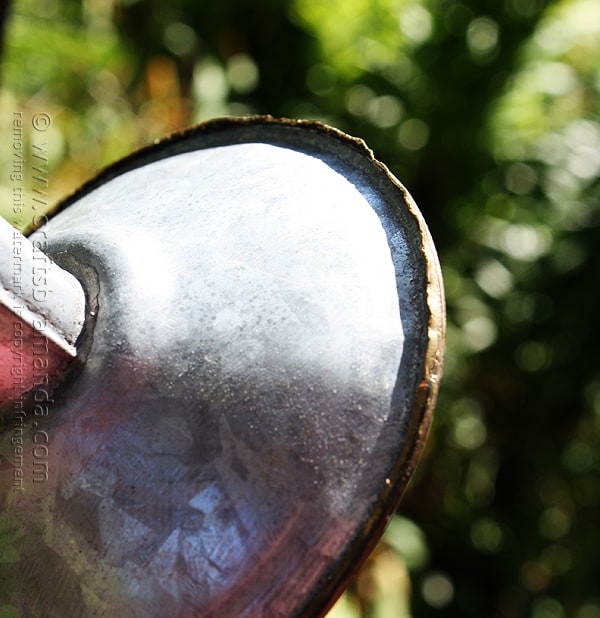
First, Debra eliminated the rim from the spout. Work slowly as it could be tight relying on the age of your can.

As you possibly can see from the close-up, she strung crystals onto a chunk of wire and threads the ends into the spout holes. From the within of the spout, run a bead (any type of bead because it received’t be seen) onto the wire and twist and wrap to carry the wire contained in the spout. Then merely reattach the rim of the spout head to the can by crimping the sides with pliers.
Debra discovered her can at a storage sale for $1.00 and the crystals got to her by a good friend. You can discover crystals on Amazon like these crystals.
Pretty superior stuff. Debra’s fairly superior too 🙂 I simply love how beautiful her garden and all her decor is! She is one artful and inventive woman! You might need to try my Ladybug Painted Rocks that look oh so cute sitting in a flower mattress! Or you may additionally like How to Start a Fairy Garden as effectively!

Print Project
A Watering Can That Pours Crystals
You could make this beautiful pouring watering can to your garden or your. Position over your flowers for a shocking show!
Supplies
- Watering Can
- Crystals chandelier, craft, acrylic, any kind
- Floral Wire
- Micro Pliers
- Any kind of bead 1
Instructions
-
Remove the rim from the spout. Work slowly as it could be tight relying on the age of your can.
-
String crystals onto a chunk of wire and thread the ends into the spout holes.
-
From the within of the spout, run a bead because it will not be seen, onto the wire and twist and wrap to carry the wire contained in the spout. Then merely reattach the rim of the spout head to the can by crimping the sides with pliers.
This publish was initially revealed on this weblog on September 26, 2013.


