

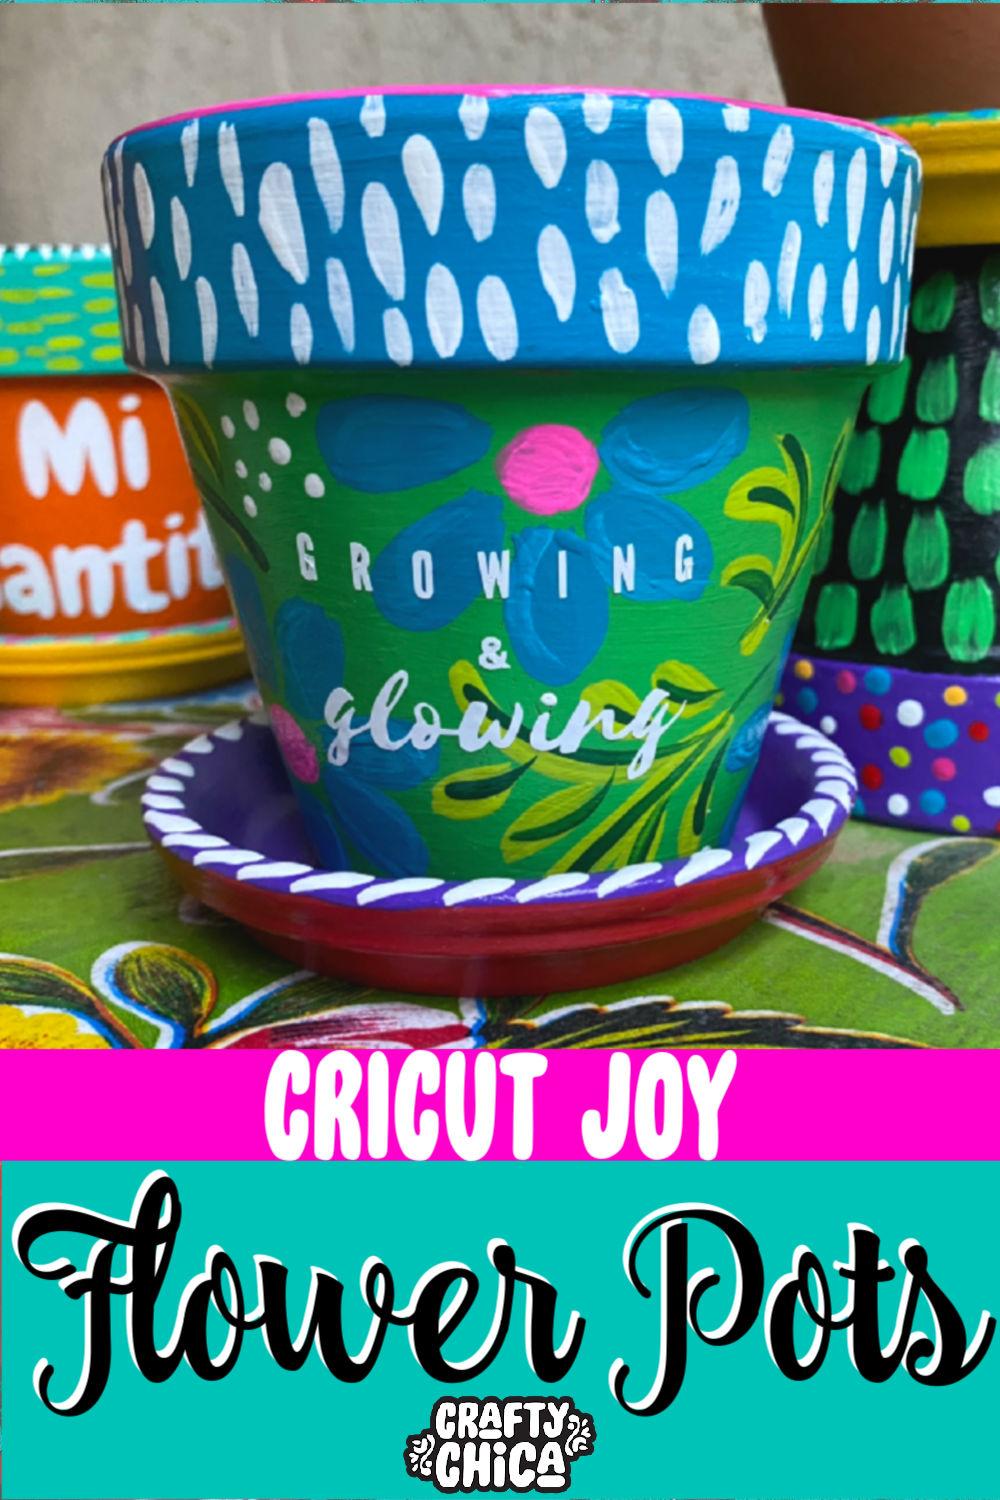
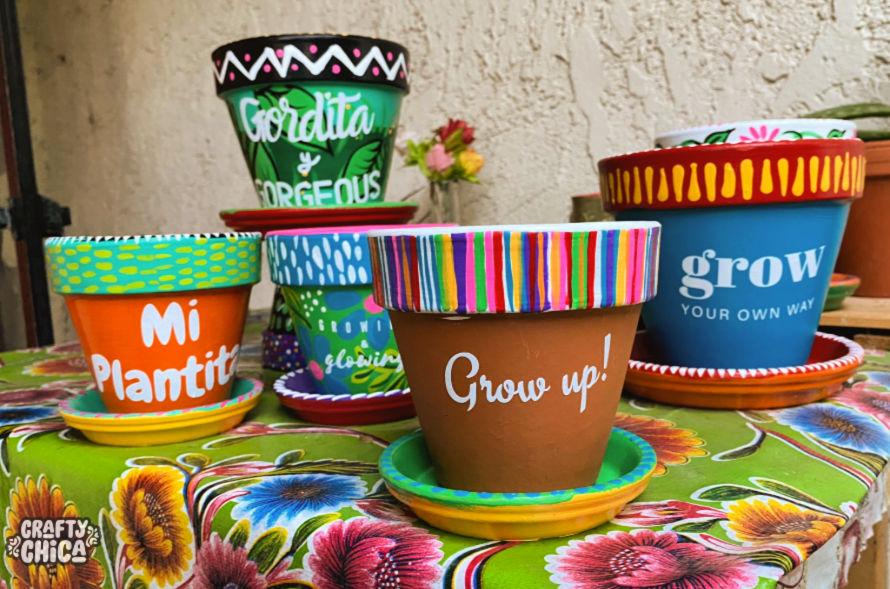
Need extra Cricut Joy initiatives? How about these DIY flower pots? Yes! Did you recognize you’ll be able to embellish your painted planters with cute phrases? Let me present you the way I did it!
Here is a video I made of the process, but I also outlined it all below!

First of all – I’m kinda new to the Cricut pleasure. I used to have a snobby angle about solely utilizing instruments and provides that I had available – till I attempted the Cricut Maker final 12 months and discovered all of the issues you’ll be able to create. I used my Cricut Maker, however not regularly because of area in my studio.
Cricut Maker Beginner: Frida Kahlo Journal!
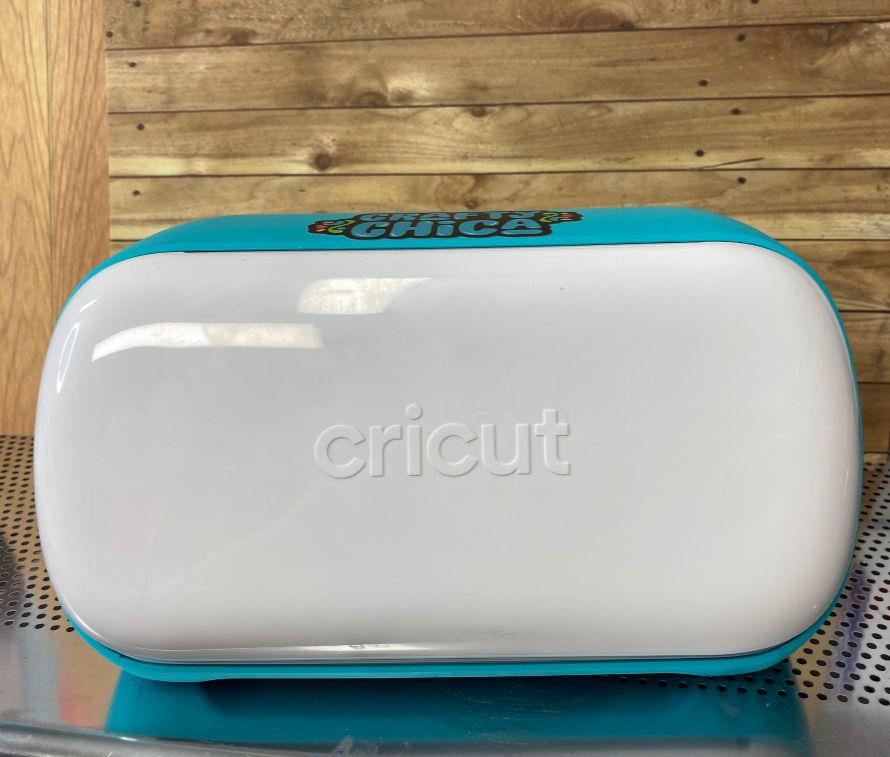
Then I signed on to do a marketing campaign with the Cricut Joy (that put up is developing quickly). As quickly as I obtained it – and all of the goodies – I went completely loca embellishing something and the whole lot.
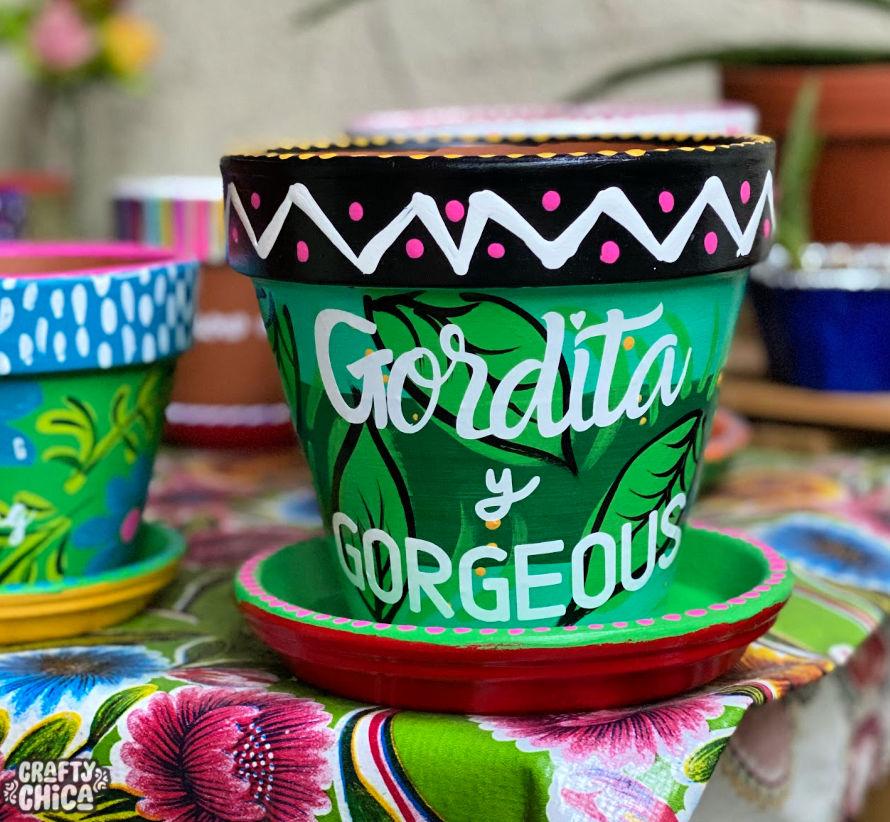
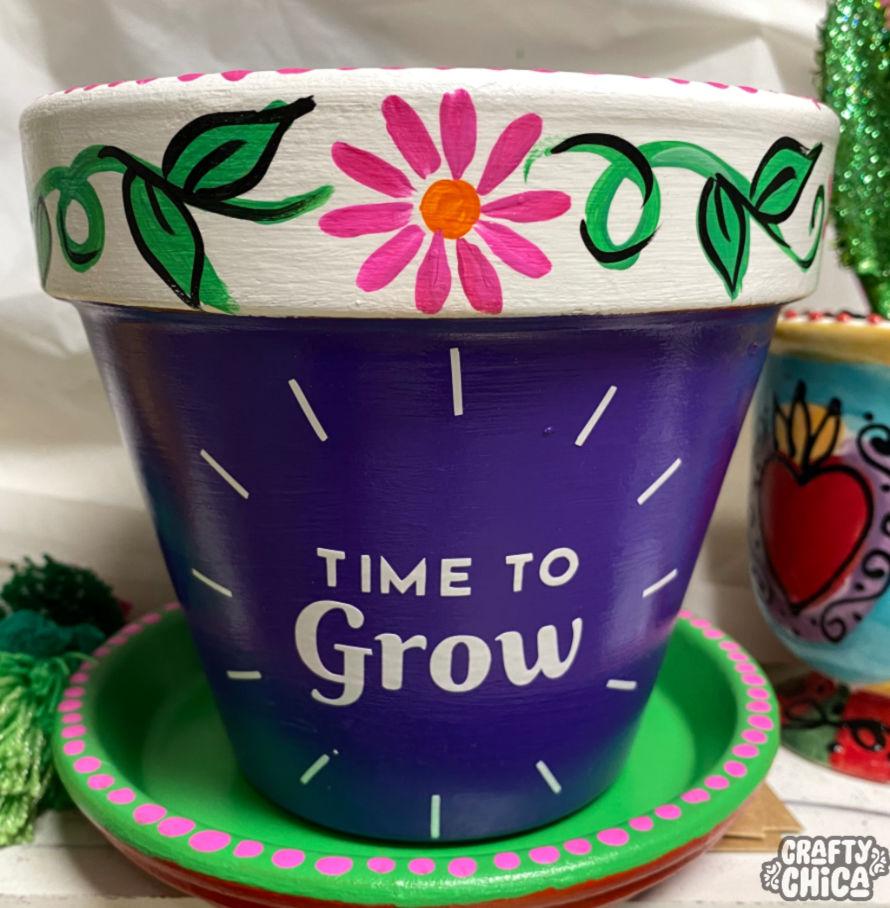
I’ll share my overview in an upcoming put up, however for now, take a look at what I did with these terra cotta flower pots!

Supplies for Cricut Joy Projects: DIY Flower Pots!:

Smart Vinyl in white, permanent
(click here for 20% off coupon!)
Terra cotta planters with dishes
Paintbrushes
Table, smartphone or desktop/laptop computer pc

Directions for portray the DIY flower pots:


Wipe away any particles or mud out of your planter pots.
Use craft paint to base coat, let dry and add one other coat.
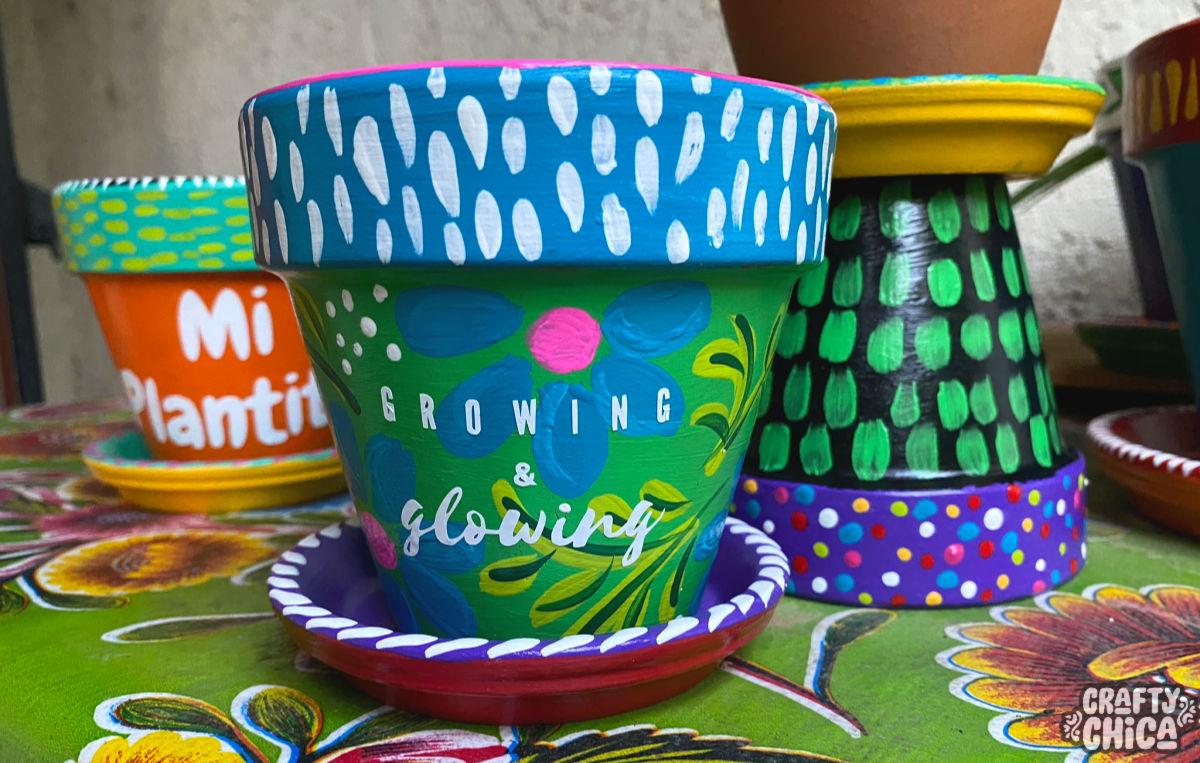
Once they’re dry, use several types of brushes so as to add accent particulars to every one. If you might be utilizing white vinyl like I did, incorporate white accents.
Let dry after which add a coat of varnish. I used brush-on Mod Podge gloss.
Directions for making the vinyl phrases

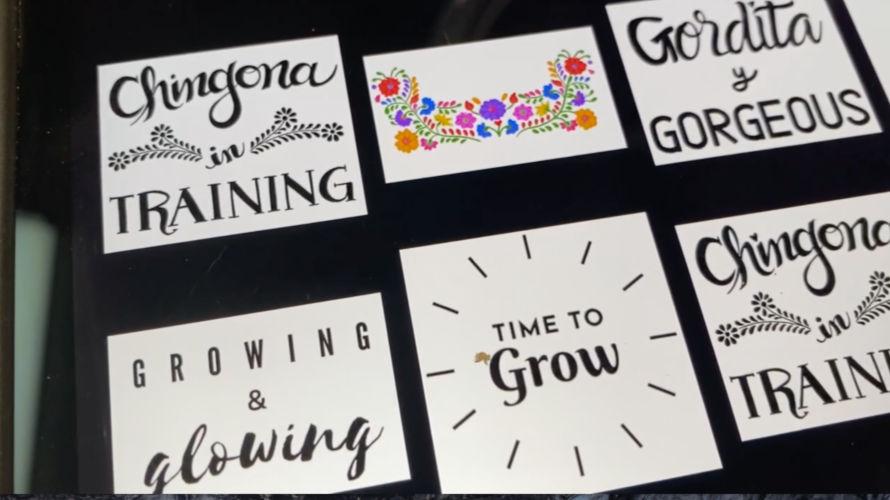
You’ll need to provide you with a phrase – scroll down for a graphic of certainly one of mine you need to use!
Choose your picture and put it aside to your digicam roll, if attainable, save as a png file.
Plug in your Cricut Joy and open up Design Space in your pill, laptop computer/desktop, or smartphone.
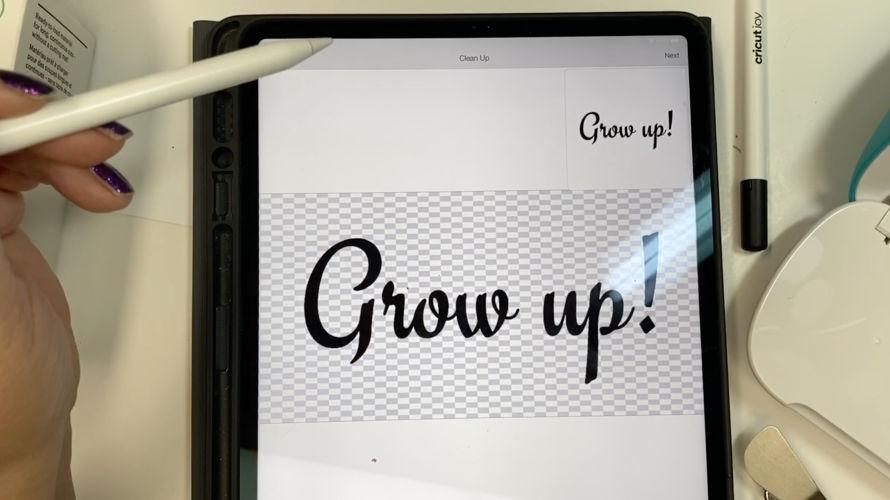

Follow the instructions to add your picture. If you didn’t save as png, then use the “remove” instrument to make the background of your picture clear.
Save as a minimize file and provides it a reputation.
Measure the size and width of the area in your planter so you understand how massive to chop your vinyl. Keep in thoughts you need the saying to be simply learn, so don’t go too massive – until that’s what you need!
Open the “canvas” space on design area and select your picture. Slide it over to the higher left space of the Design Space canvas and ensure it’s inside the dimension you need. Cut your vinyl to match the scale, make it a bit over for security.
Set? Okay, now proceed to chop. The display will immediate you to click on on the machine for pairing, then direct you to insert your sensible vinyl. It will scan it to be sure to minimize a large enough piece.
Load your vinyl within the Cricut Joy and click on on the display to proceed to chop. When it’s accomplished, you’ll obtain a message to unload.
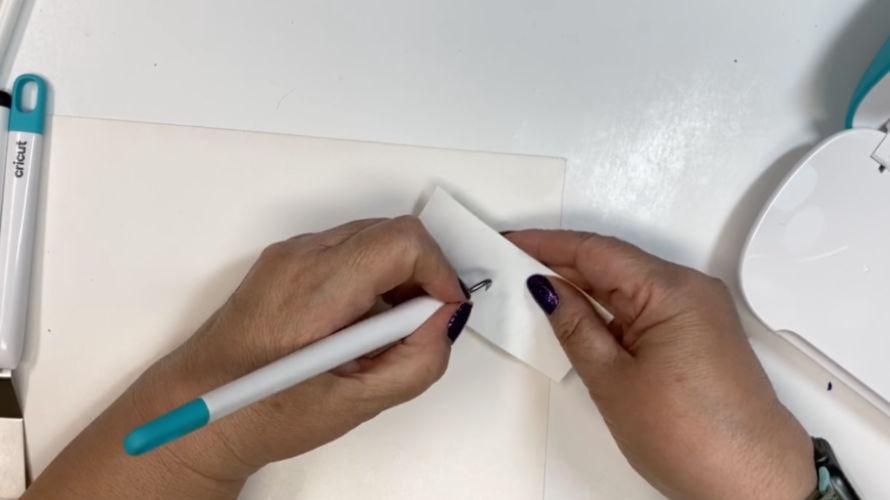
Remove the vinyl and use the weeding instrument to tug away the surplus vinyl. Use the instrument once more to “weed” out every other items.
Transfer your design
Cut and piece of switch tape to match the scale of the vinyl and place it excessive of the design. Use an previous reward card or the Cricut scraper instrument to burnish the tape to the design.

Do this for your entire phrases and set them apart.
Applying the phrases to your planter pots
Choose your phrase to use. Carefully peel away the nook and take away the tape from the vinyl backing so the design transfers to the tape.
Find the spot the place you need to add the phrase. Make certain it’s dust-free. Carefully place the tape, sticky facet down, use the scraper instrument to burnish the letters onto the flower pot.
Ever-so-carefully peel away the switch tape, exposing the vinyl lettering!
Continue with the others till they’re all accomplished.


TIPS: I wouldn’t use tremendous small pots as a result of which means very small textual content to weed, persist with medium pots for the very best outcomes.
IDEAS: Use your diy flower pots as reward baskets, or to carry magnificence brushes, pf course for gardening too, proper?

Thank you for testing my tutorial for making DIY flower pots utilizing a Cricut Joy! I’m having a lot enjoyable with this machine, I can’t wait to point out you extra concepts!


